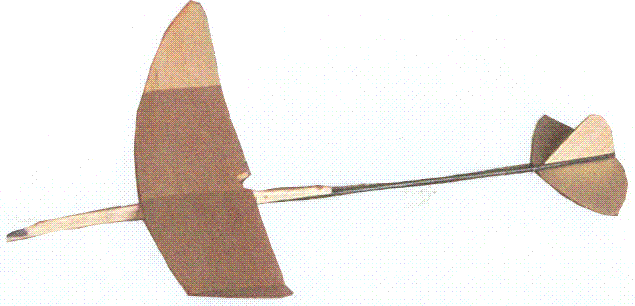
Scaled-up Mini-Catapult Glider for High Ceilings
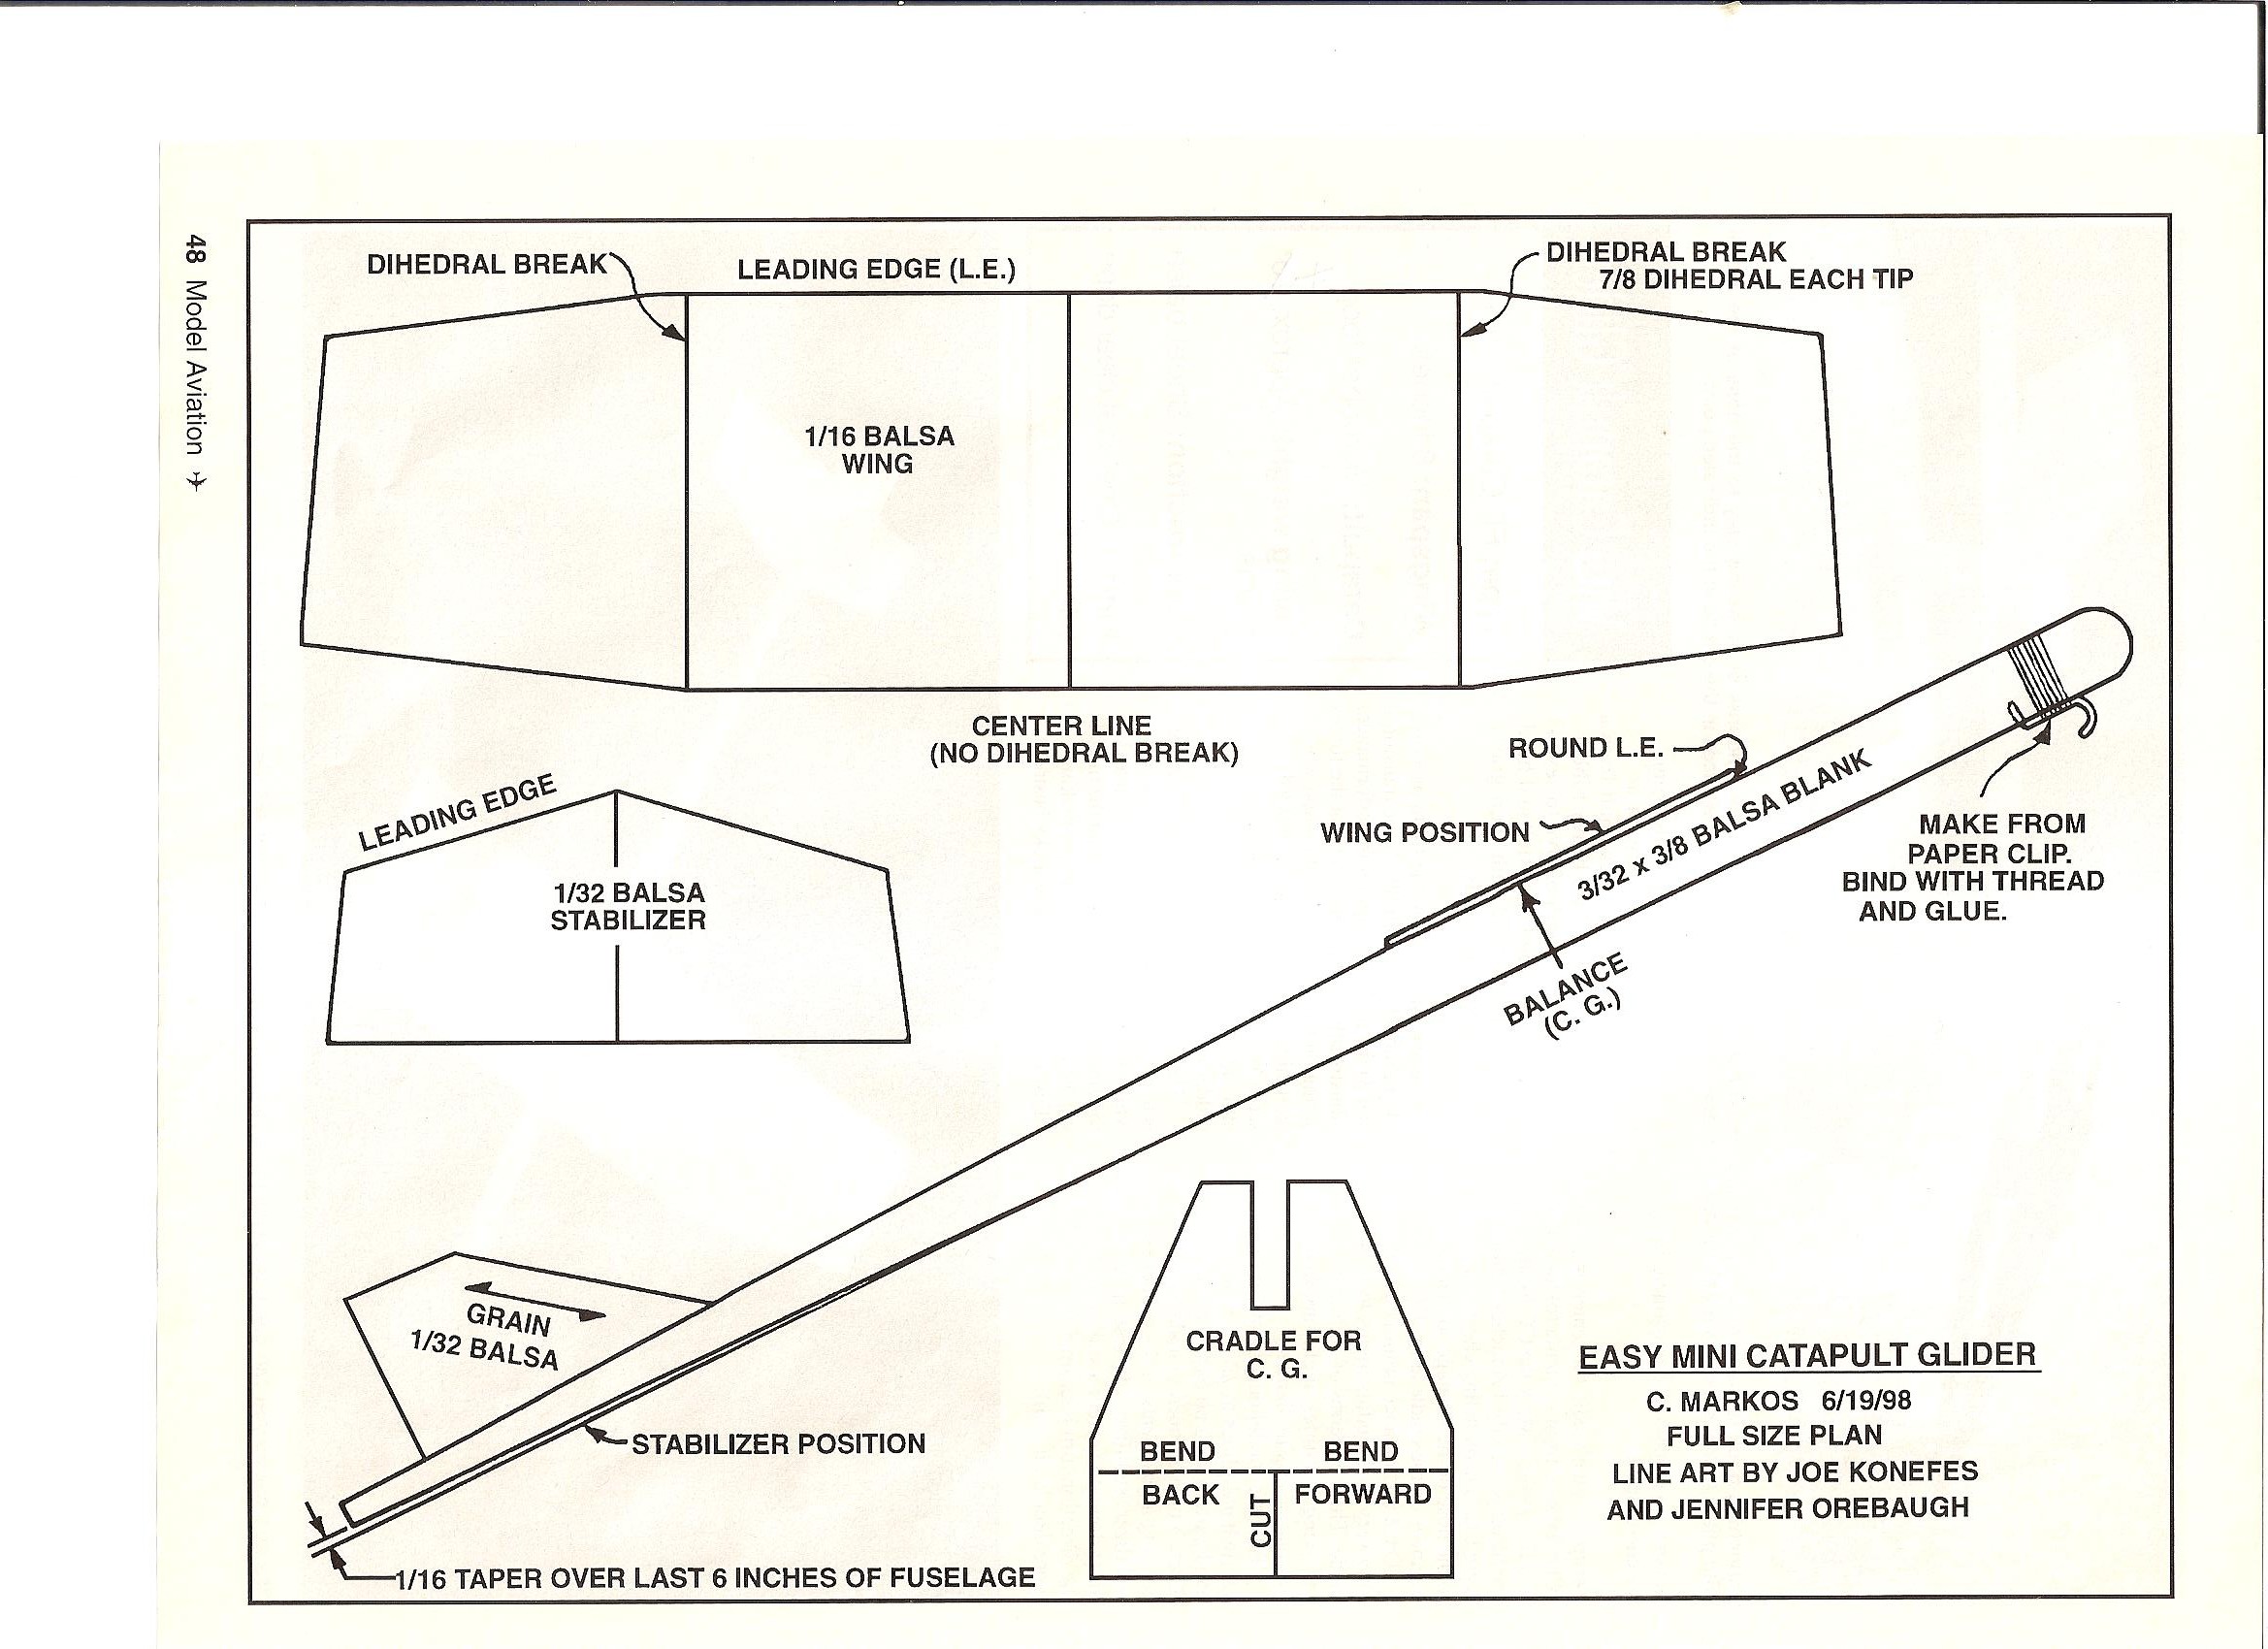
The dimensions of the mini are quite amenable to scale-up to make a more effective glider. The simplest approach is to multiply all dimensions by a factor of 1.5, but keep the thickness of the wing and stab balsa the same (1/16" wing, 1/32" stab). The fuselage thickness may be increased from 3/32" to 1/8" balsa. The 1/16" flat plate wing balsa should not weigh more than 12 grams for a 3 x 36 sheet. Stab balsa should likewise be less than 7 grams for a full 3 x 36 sheet. For the Science Olympiad Elastic Launched Glider event, the total mass of the ready to fly glider must be less than 10 grams. Balsa density selection is very important to not exceed that specification. If you cannot find suitable balsa, the mass specification may be met by using a dimensional multiplier less than 1.5.
Modification number one: Start with wood selection as above. Shape some camber into the top of the wing with sandpaper. Sandpaper must be mounted on a flat block for shaping balsa. That is, taper the cross-section of the wing so that the following dimensions are approached: From the high point at about 2-2.5 cm from its LE, the thickness of wing balsa should taper from 1/16" to less than 1/32" at its TE. The balsa forward of the high point to the LE should be slightly rounded being careful to not remove too much balsa. Because of the camber in the 1/16" balsa wing, no longer a flat plate airfoil, the taper of the underside of the fuselage may be reduced. There is no need for undercamber in the wing. Keep its bottom surface flat.
Modification number two: Start with wing balsa from 3/32" sheet that weighs less than 15 grams per 3 x 36 sheet. Keep all other wood thickness the same as in Mod #1 above. Shape some wing camber as described in Mod #1 above keeping the 3/32" high point 2 -2.5 cm from the LE. The dihedral joints should be mitered. Not cracked and glued as described in the magazine article. Use 5-minute epoxy to join the mitered sections. The fuselage should have no taper at all on its bottom edge. Make sure that the stab-mount section of the fuselage is parallel to its wing-mount section. Again, there is no need for undercamber in the wing. Undercamber will greatly diminish the climb potential of a glider.
All other processes described for the Mini-Catapult Glider remain the same. Make sure, however, that the front of the fuselage meets the requirement for bluntness for SO ELG. To make a mitered edge for joining the wing sections you will need a sanding block (sandpaper on a flat block), a square-cut section of 3/4" plywood, and some wood scraps of various thickness. Mark a line at the location of the dihedral joint(s) and cut all the way through the wing on the line with a razor saw if you have one.
Place the wing edge to be mitered so it just meets the edge of the square-cut plywood with that edge of the plywood extending over the end of your work bench. Place a riser from wood scrap under the wing section so the edge to be mitered becomes angled to the plywood edge. A diagram would show a triangle with the wing section as its hypotenuse; the plywood surface as the lower leg and the riser as vertical leg. Hold the wing section firmly while scrubbing the sanding block against the square-cut plywood edge. Be careful to keep the sanding block pressure only on the plywood. When no more wood is removed from the wing, you will have one-half of a mitered joint. The angle that the wing section makes with the plywood surface (not the square-cut edge) will be one-half of the dihedral angle when glued to a similarly prepared edge from a different section of the same wing.
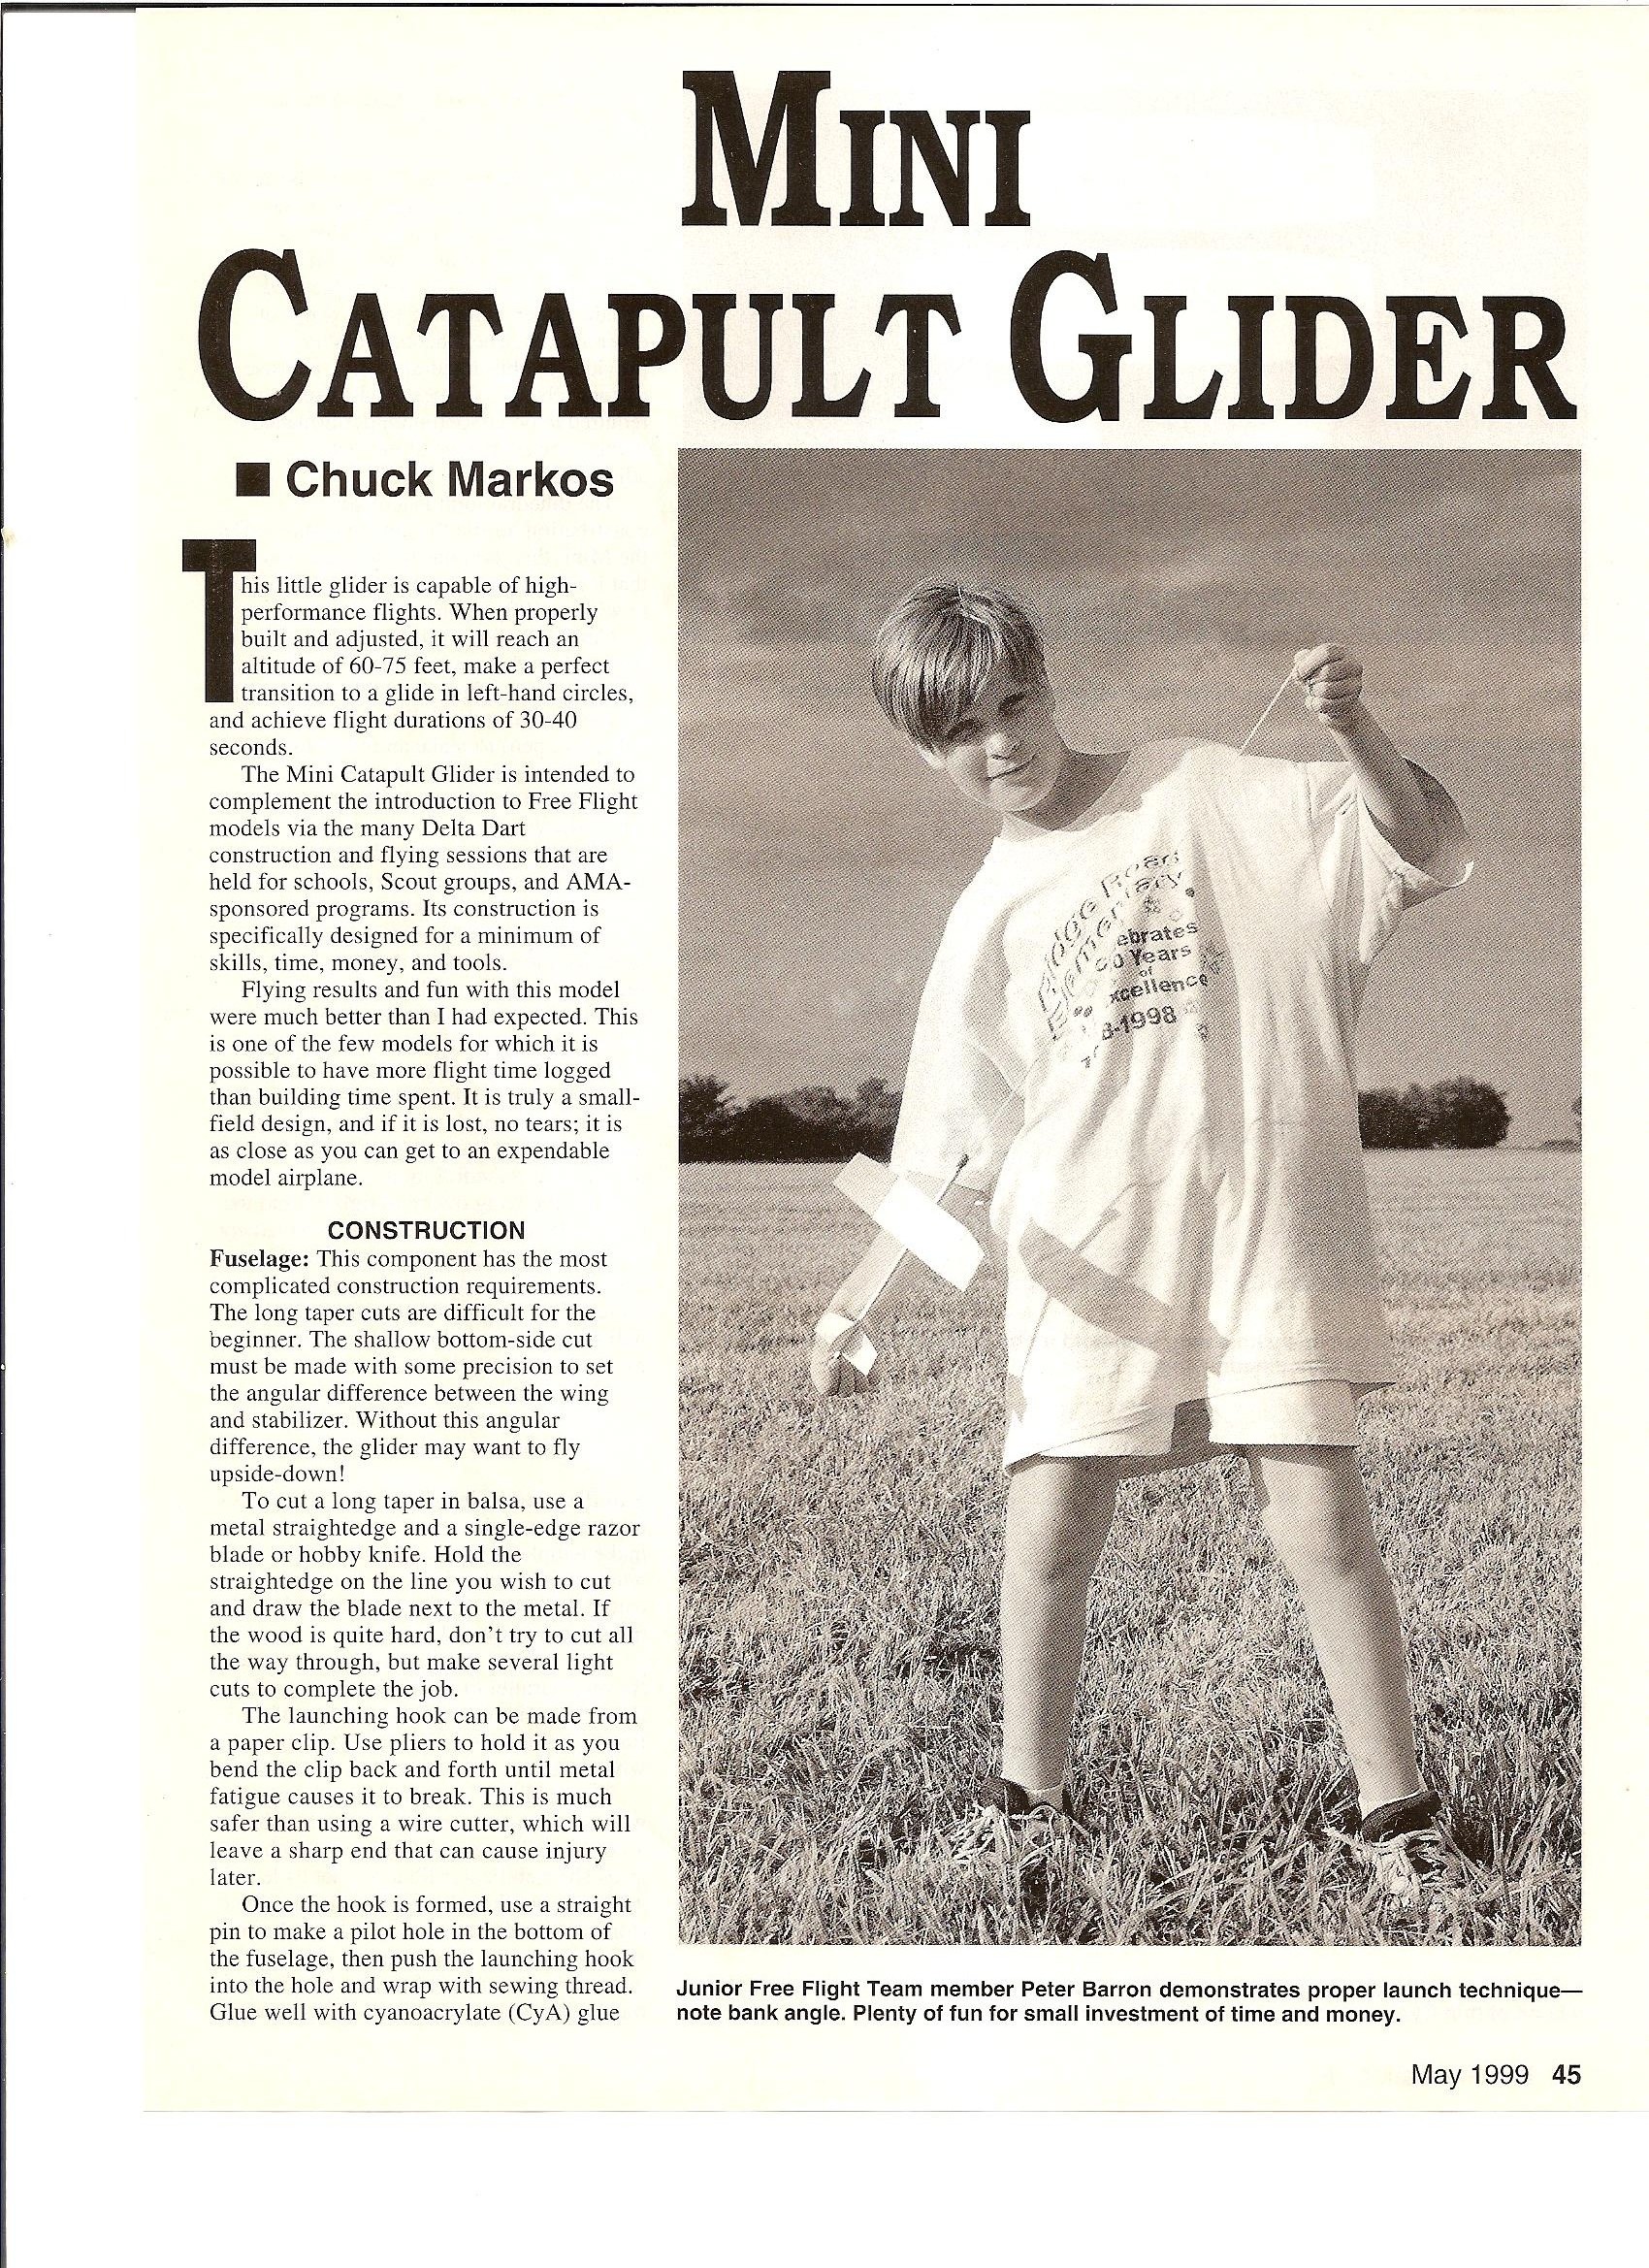
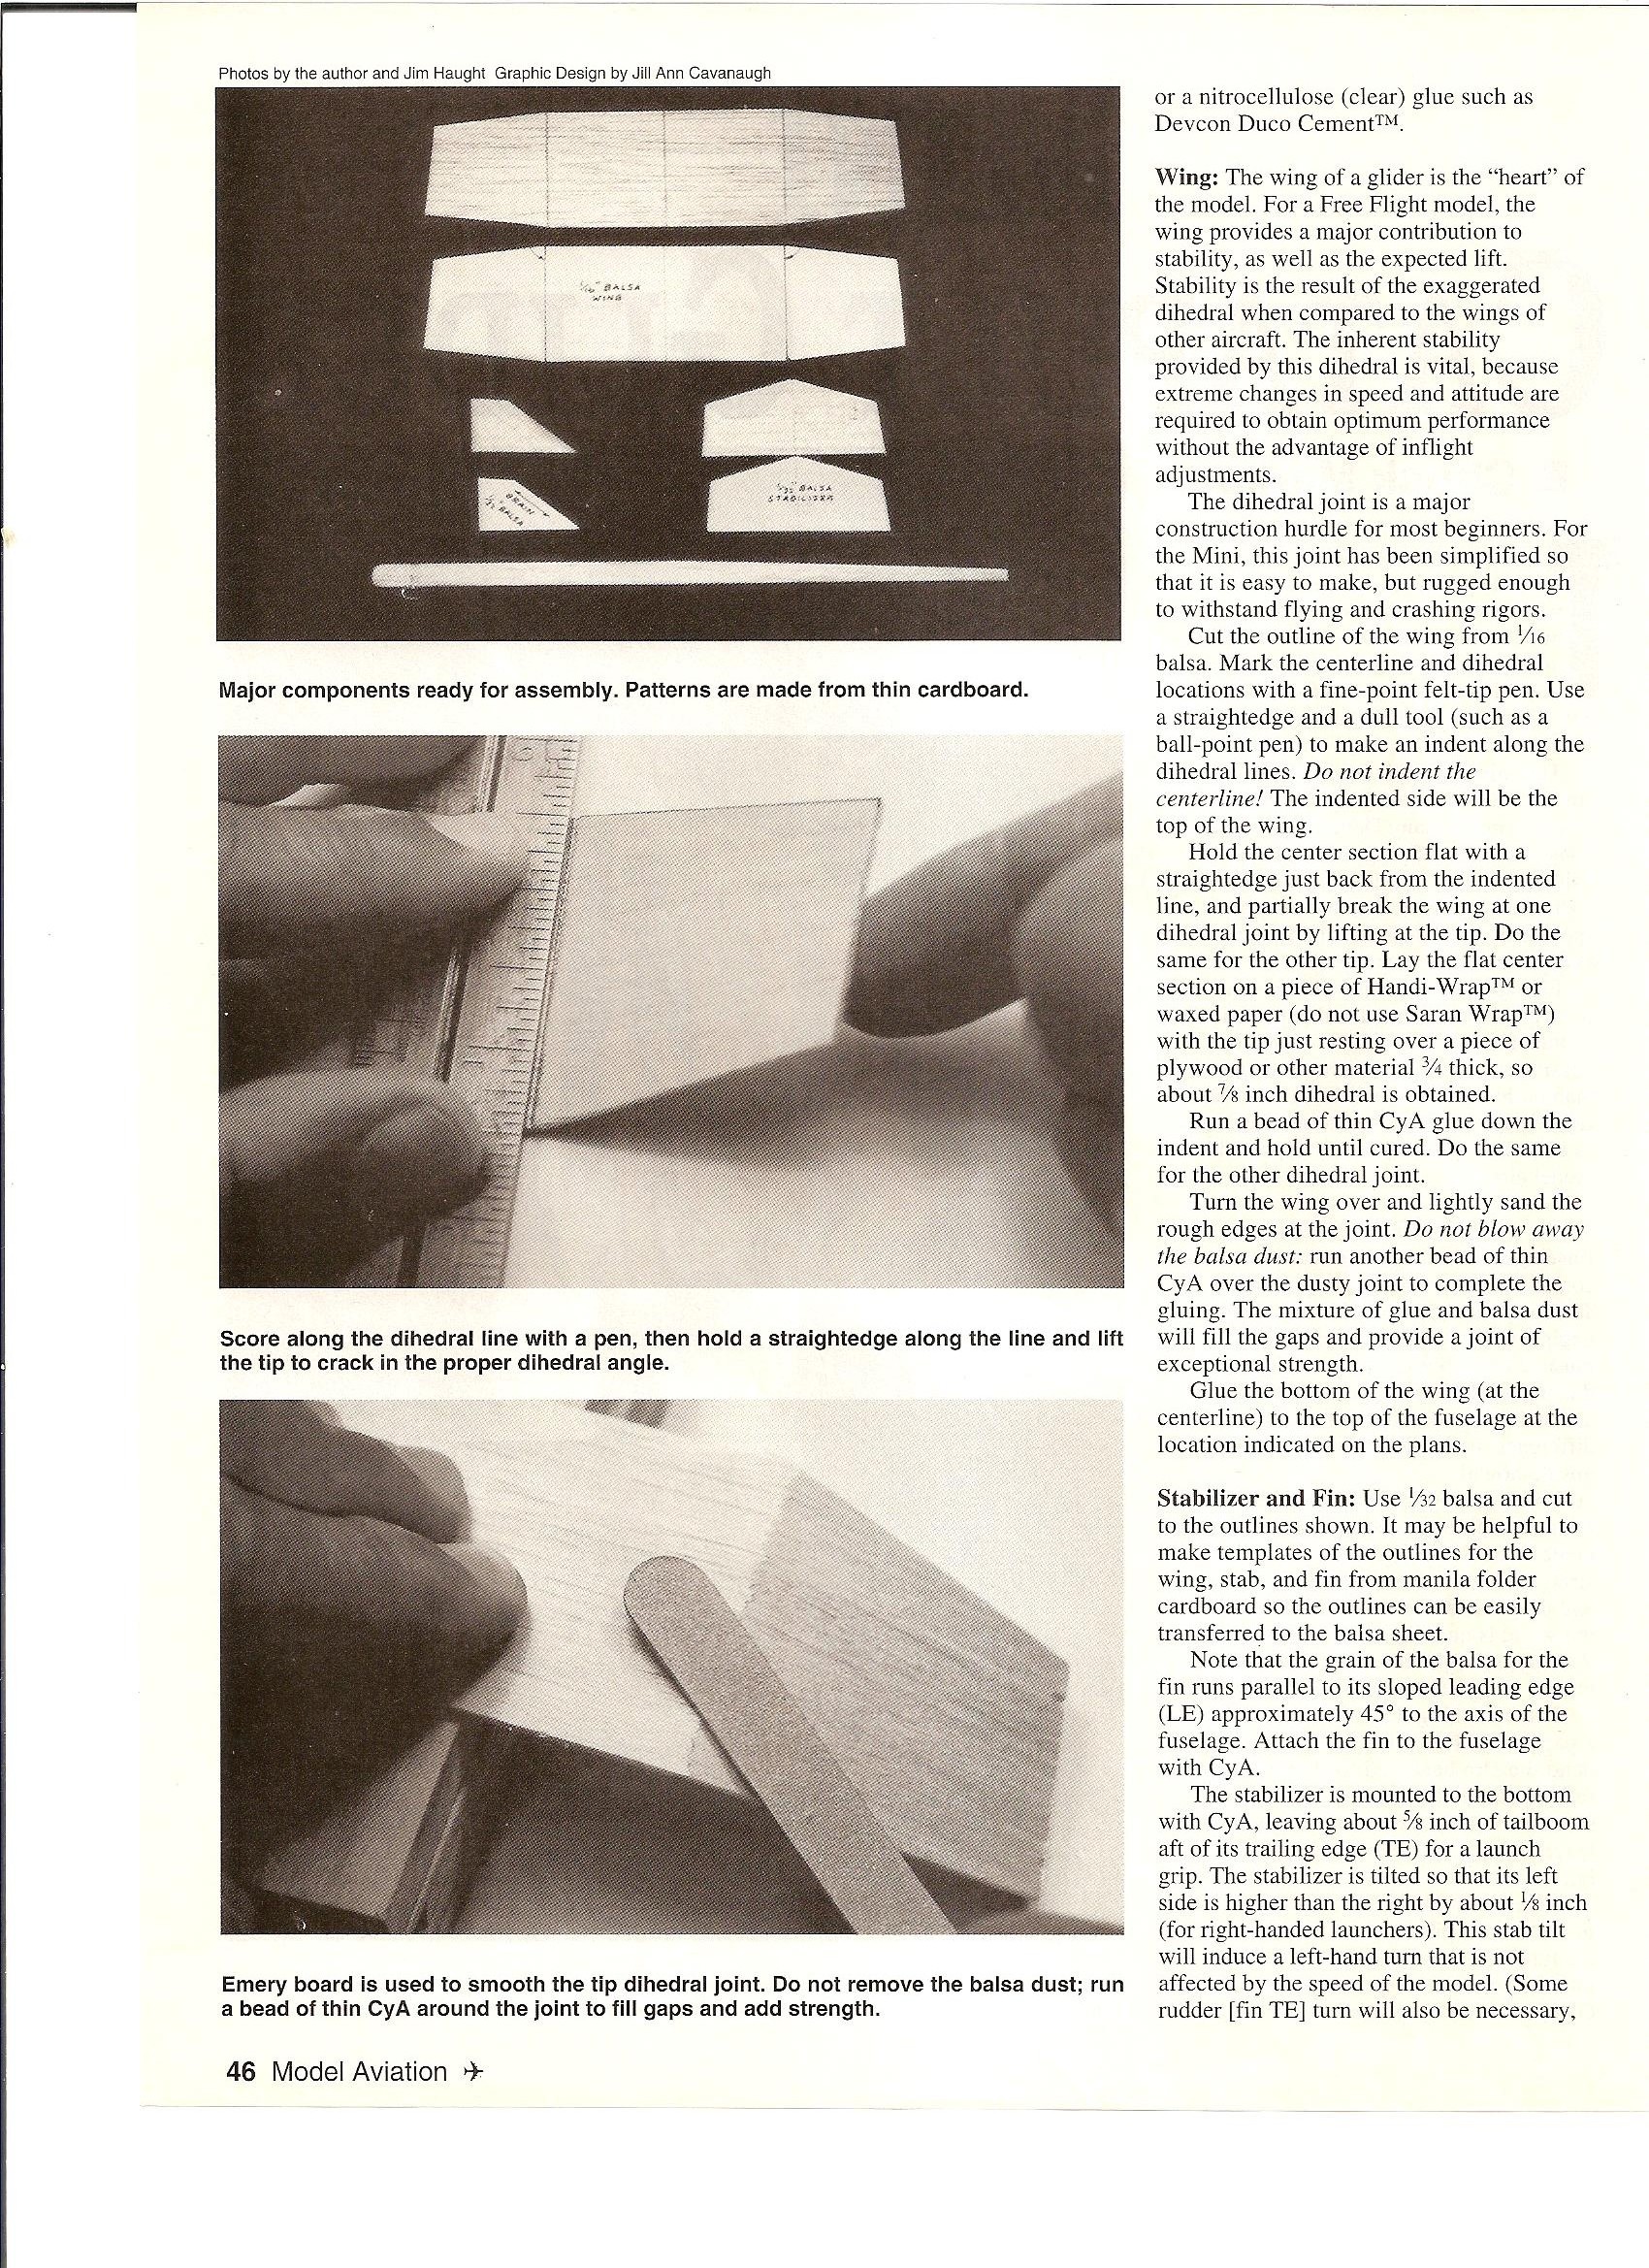
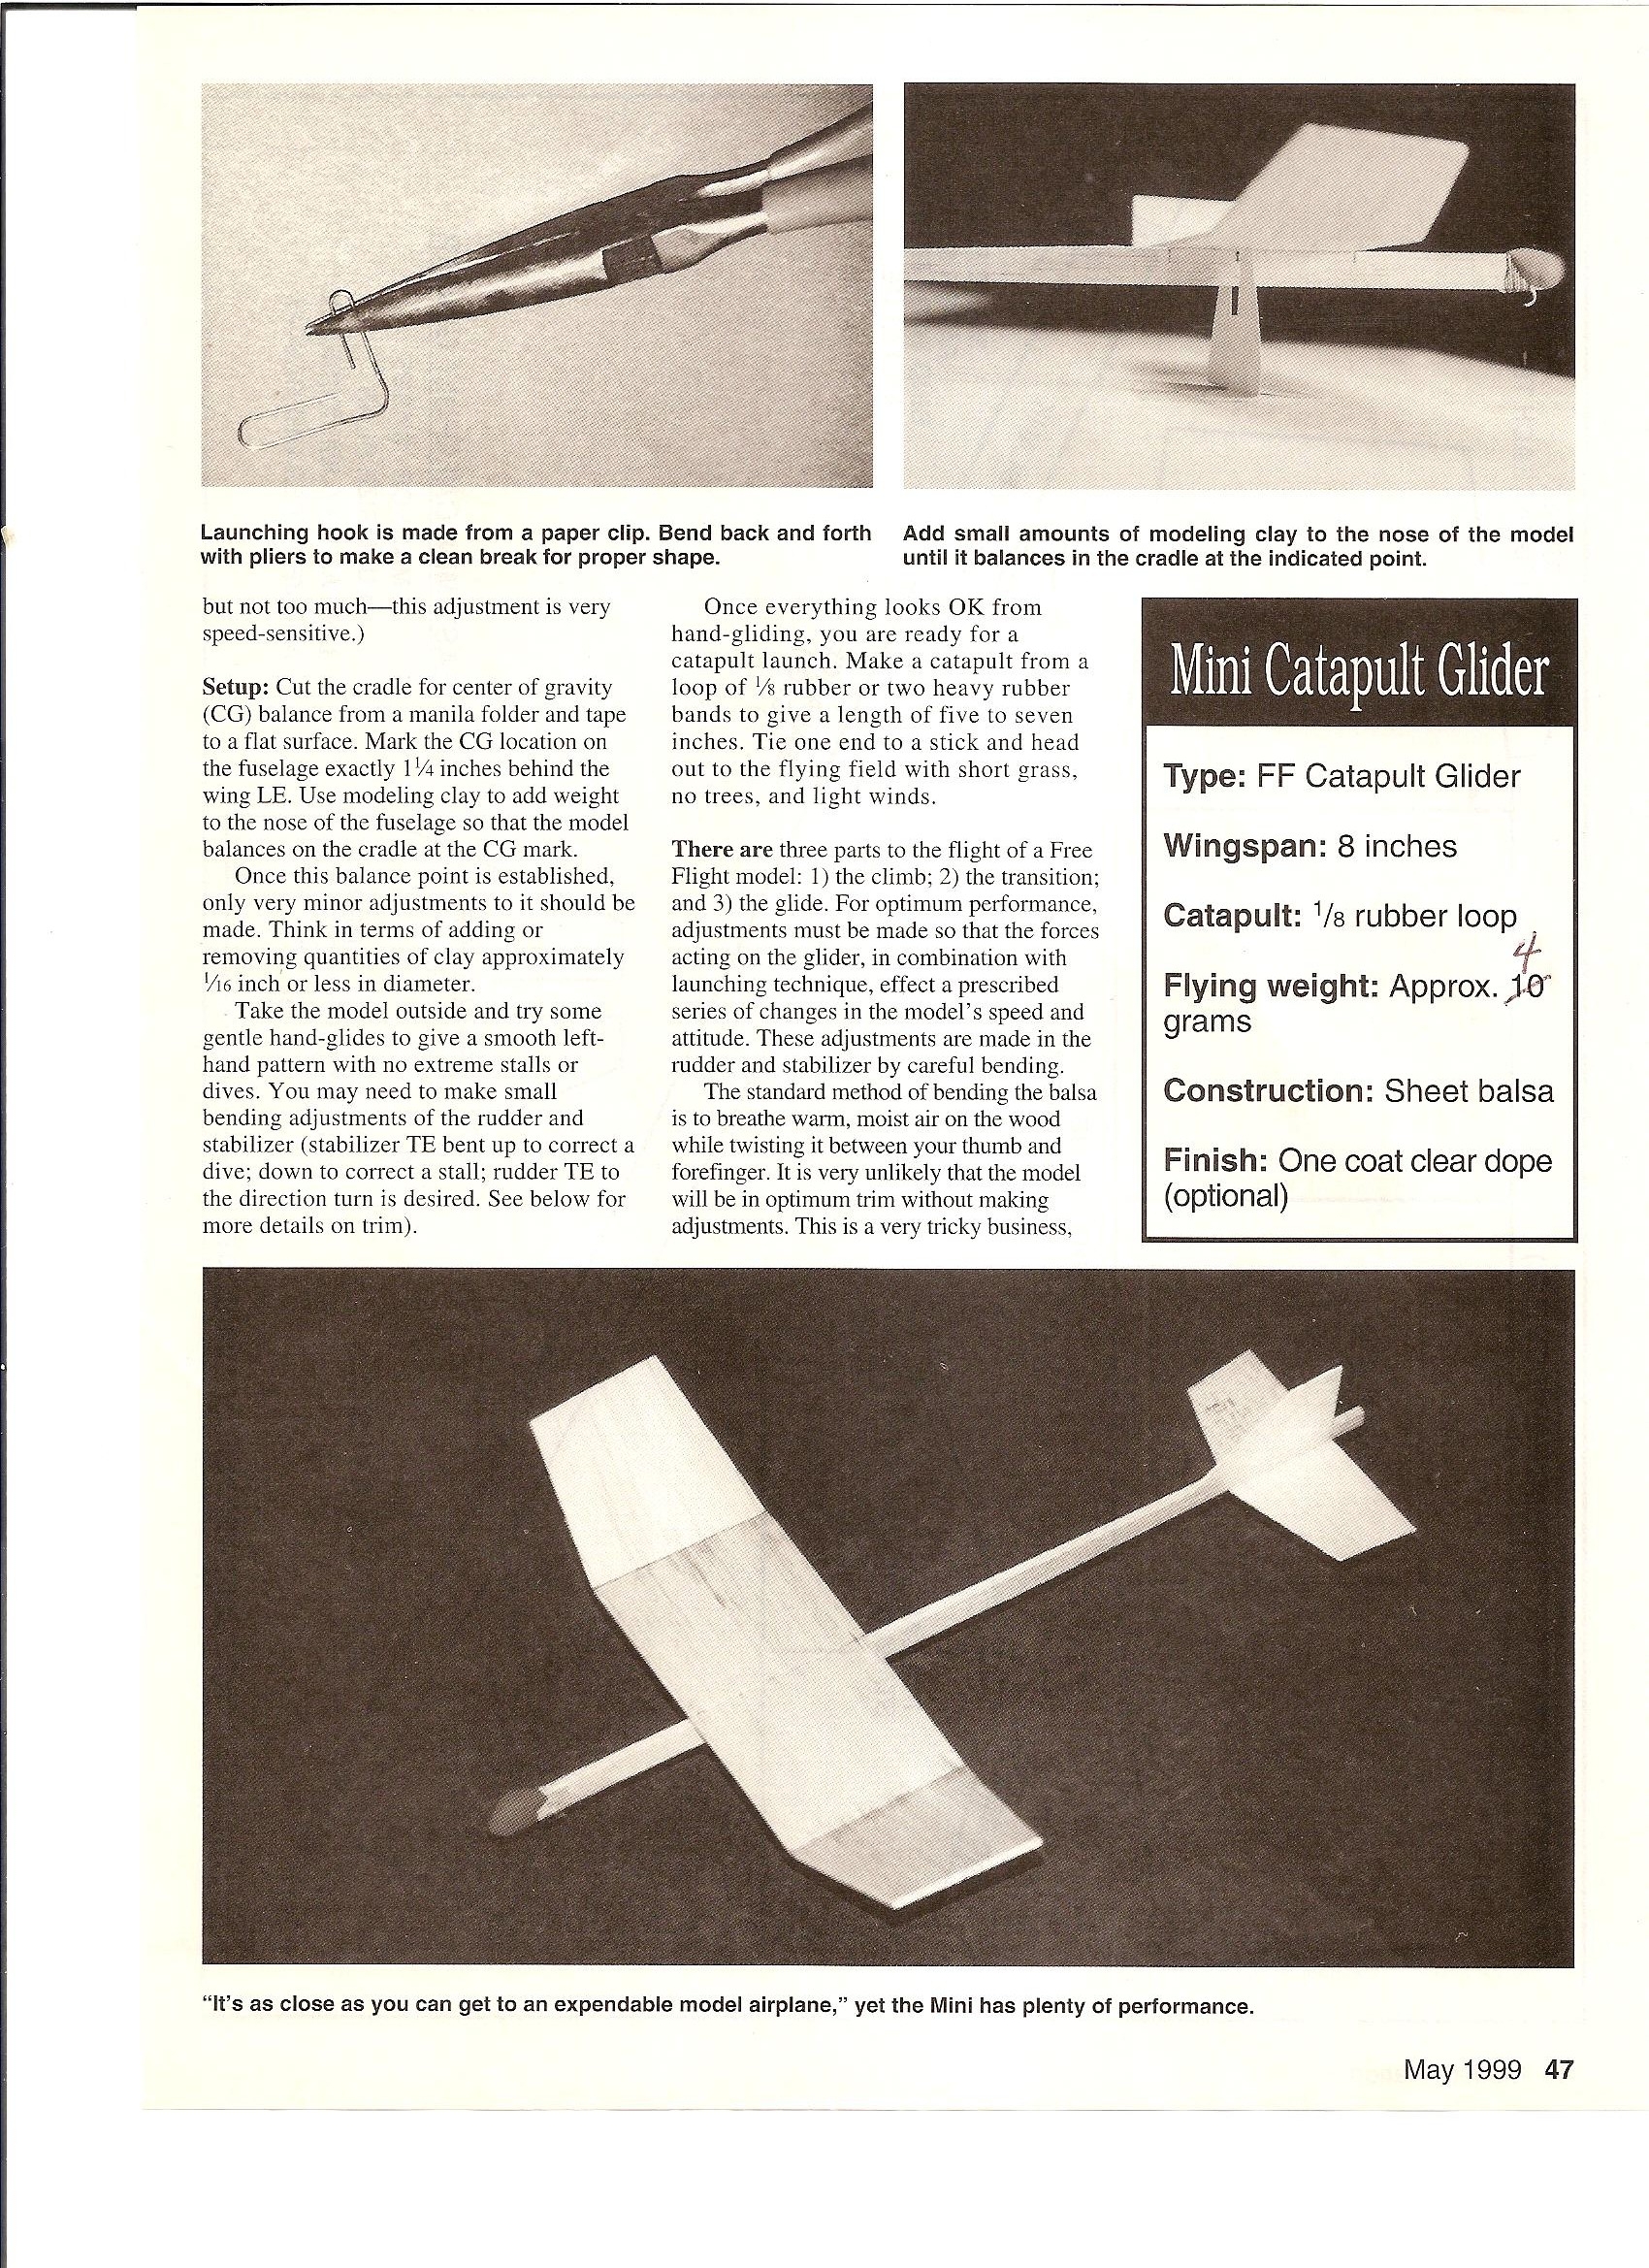
Article Extract from Model Aviation, May 1999 Issue
You can view this edition of Model Aviation on their website, at this link.
